
Website Not Ranking Even After SEO?
Website not ranking even after SEO? Learn the key mistakes holding you back and practical strategies to boost rankings and organic traffic.
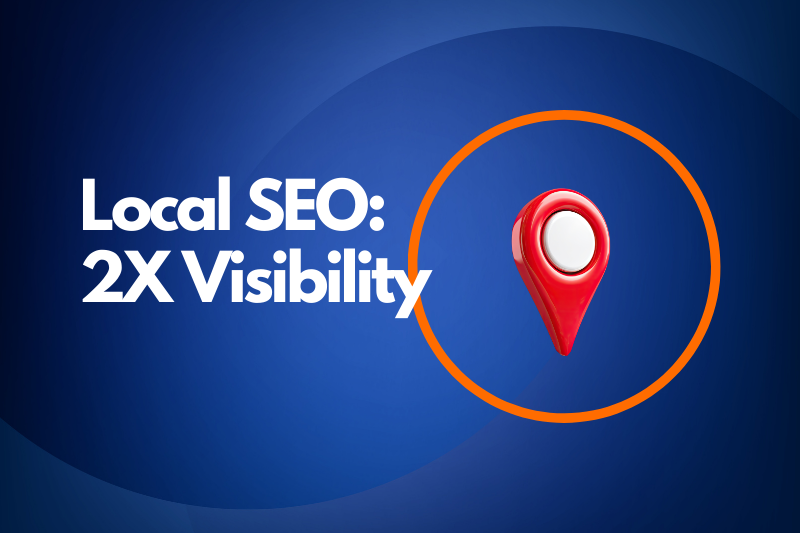
AI for Local SEO: Boosting Visibility in Your City
Discover how AI is transforming Local SEO from smarter keyword targeting to review insights helping businesses boost visibility and attract customers in their city.

Digital Marketing Trends to Watch in 2026: Stay Ahead of the Curve
Discover the biggest digital marketing trends of 2026 and how your brand can adapt, innovate, and lead in a rapidly evolving digital landscape.
SEO Automation: Tools That Save Time & Boost Rankings
SEO automation transforms manual search workflows into scalable growth systems. Discover how modern tools help brands save time, maintain site health, and improve rankings with speed and consistency.
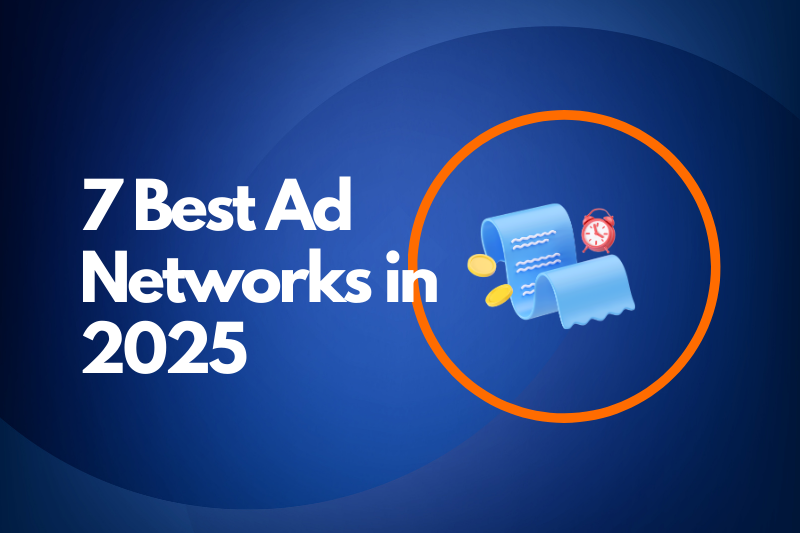
Top Ad Networks for Performance Marketing in 2025
In 2025, ad networks are no longer just media channels they are AI-powered growth platforms. Discover the top ad networks for performance marketing and how brands can combine them to drive scalable, outcome-driven growth.
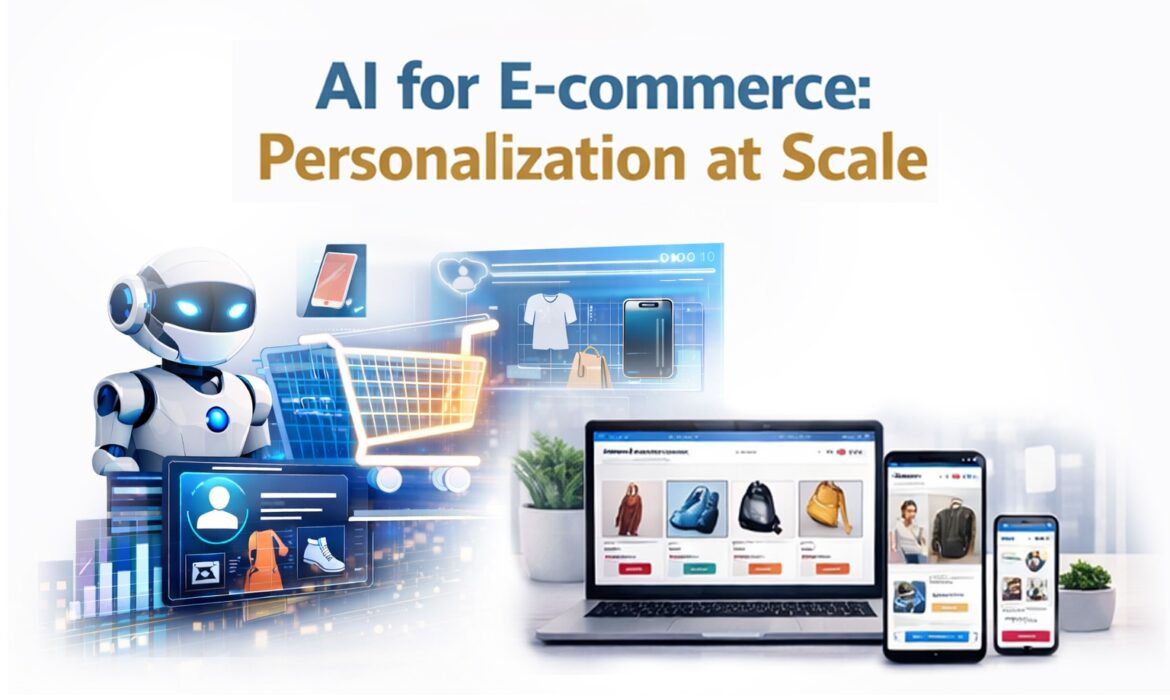
AI for E-commerce: Personalization at Scale
AI-powered personalization enables e-commerce brands to scale customer experiences using data and automation. Learn how AI drives relevance, efficiency, and growth across the e-commerce funnel.
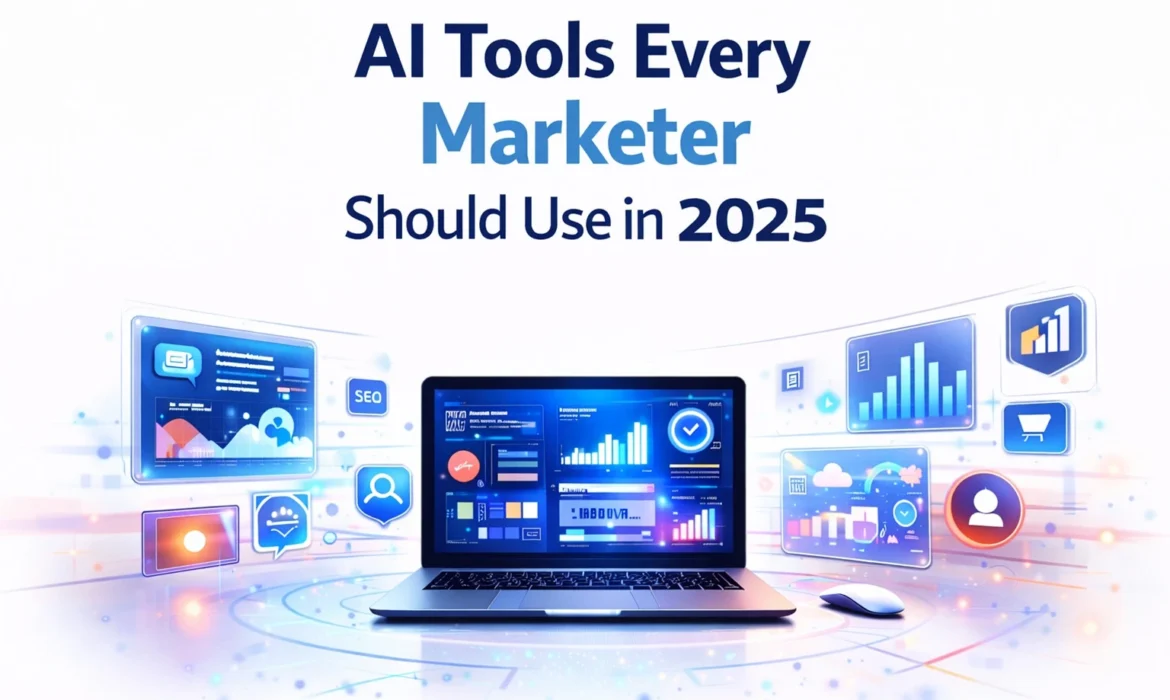
AI Tools Every Marketer Should Use in 2025
AI tools are reshaping marketing in 2025. Discover the must-use tools for SEO, content, performance, analytics, and automation.
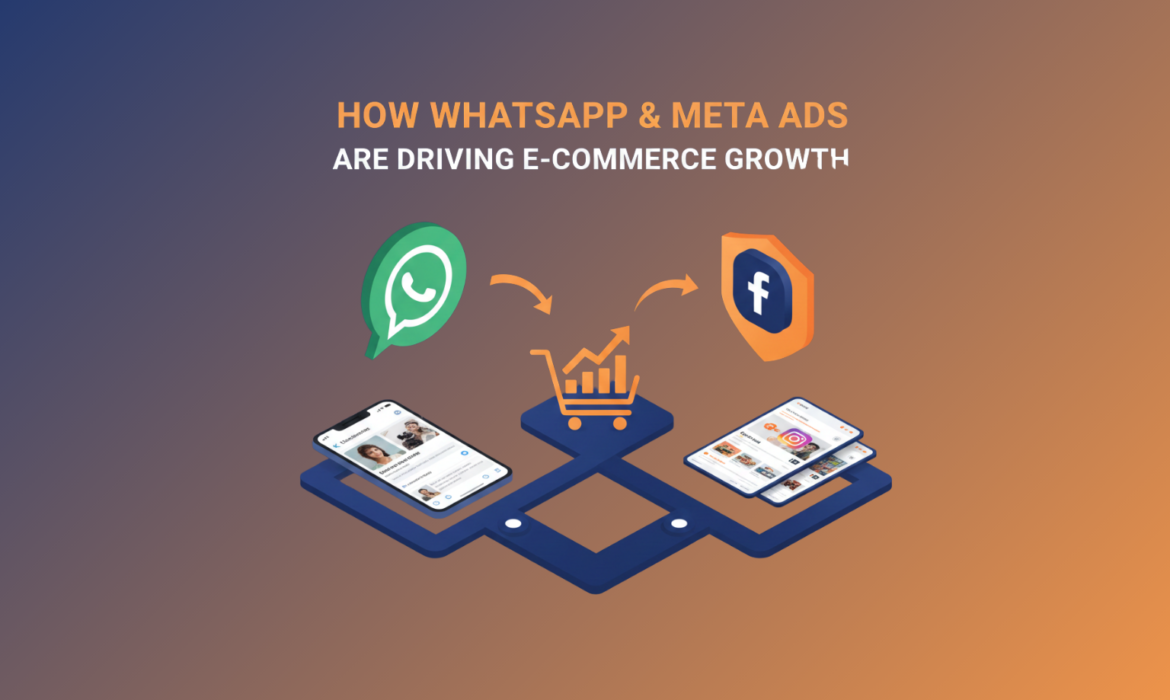
How WhatsApp and Meta Ads Are Driving E-Commerce Growth
Discover how inbound marketing enables B2B brands to create meaningful connections and scale effectively across international markets.
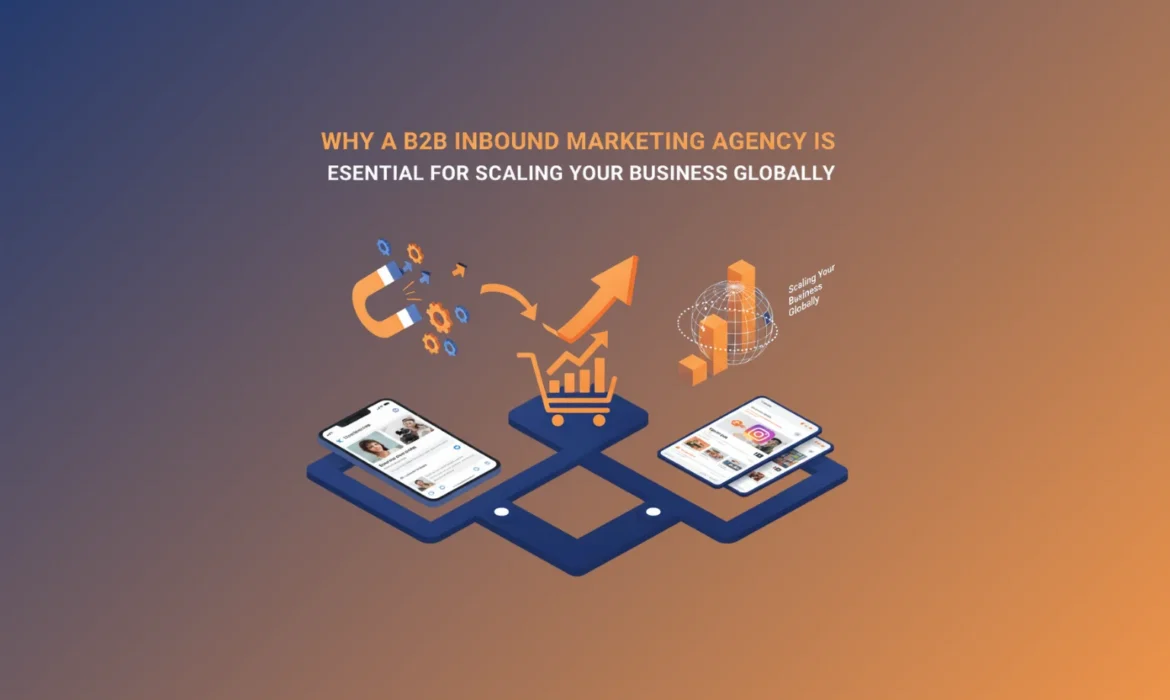
Why a B2B Inbound Marketing Agency is Essential for Scaling Your Business Globally
A B2B inbound marketing agency helps you build trust, attract global audiences, and scale your business with localized, data-driven strategies.
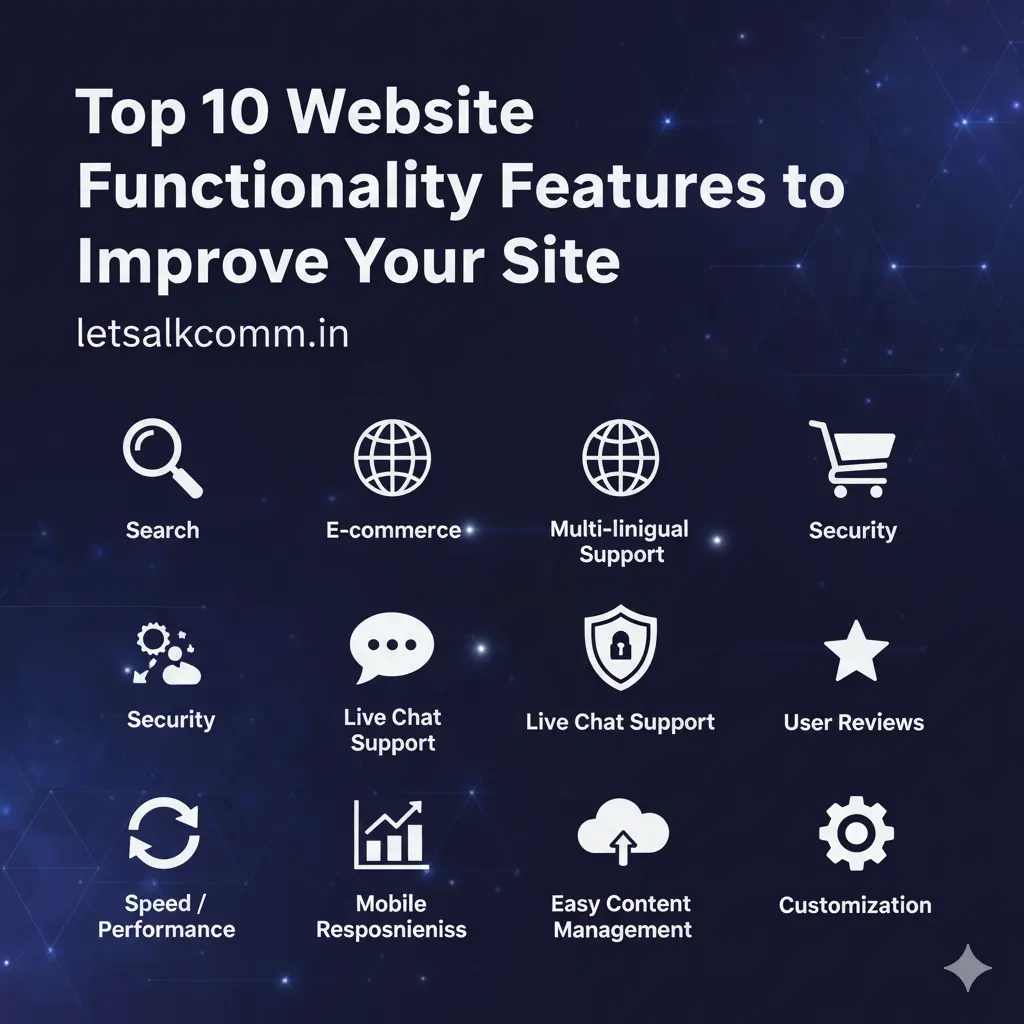
Top 10 Website Functionality Features to Improve Your Site
Discover the top website features your business needs to boost user experience, improve performance, and turn visitors into customers.
